XAMPP is a freely available package that is both simple to install and use. It is a cross-platform web server solution developed by Apache and is open-source. XAMPP stands for Cross-Platform (X), Apache (A), MariaDB (M), PHP (P), and Perl (P). Essentially, XAMPP sets up a mini server on your local computer, enabling you to preview your web application’s appearance as you modify and manipulate its code.
In this blog, let’s discuss a detailed stepwise procedure for installing XAMPP on MAC OS and connecting with MySQL as a root user using the terminal.
Stepwise Procedure for installing XAMPP on Mac OS:
Step 1: Firstly, you must open the download link provided below.

Step 2: Then, select a suitable version of XAMPP. Here, you will be downloading the XAMPP Version 8.0.6/PHP 8.0.6.

Step 3: Now, you must double-click the downloaded file.

Step 4: Then double click on XAMPP.

Step 5: Give permission to open the XAMPP by clicking on ‘Open.’

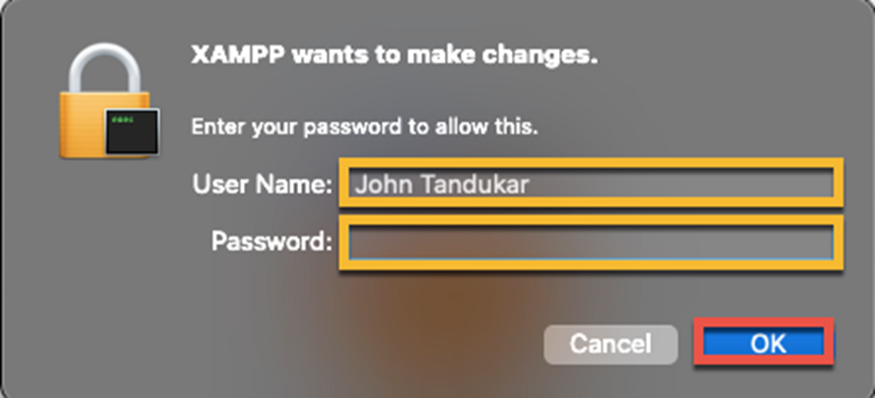
Step 6: Then, you must enter your username and password.
Step 7: Now, your Setup of XAMPP begins. Here, you are required to click on the ‘Next’ button.

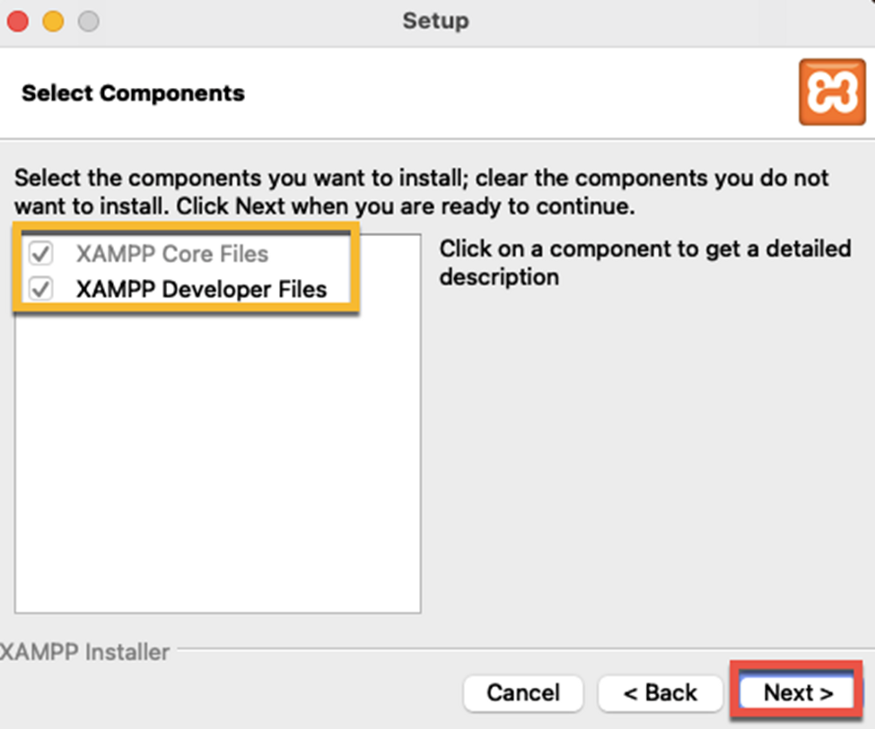
Step 8: Here, you must select the components you are willing to install. For now, all the components are selected. Then click the ‘Next’ Button.
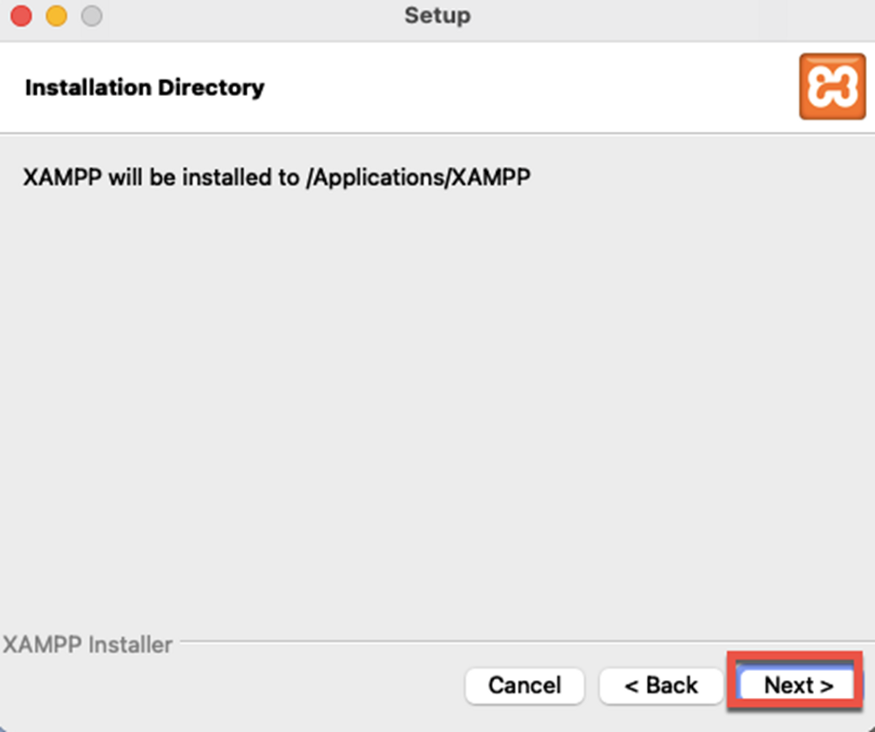
Step 9: Here, on Mac OS, all the applications will be installed in applications. So, you cannot change your destination folder. Click on the ‘Next’ button.
Step 10: Again, click on the ‘Next’ button.

Step 11: So, to begin the installation, you must click on the ‘Next’ button.

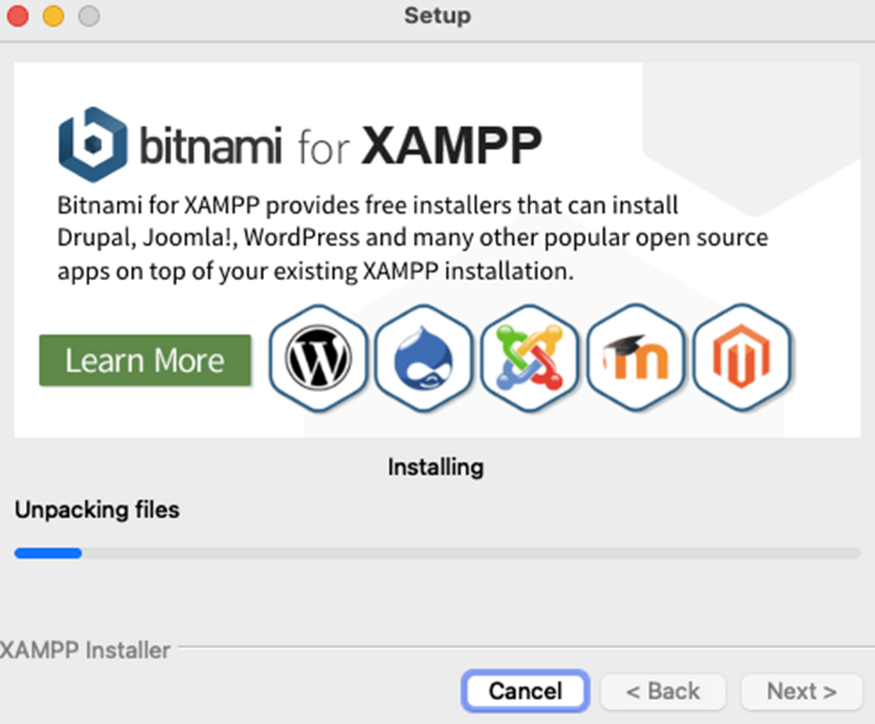
Note: Now, your installation process begins, as shown in the image below. So, you will have to wait for a specific time period until your installation will be completed.
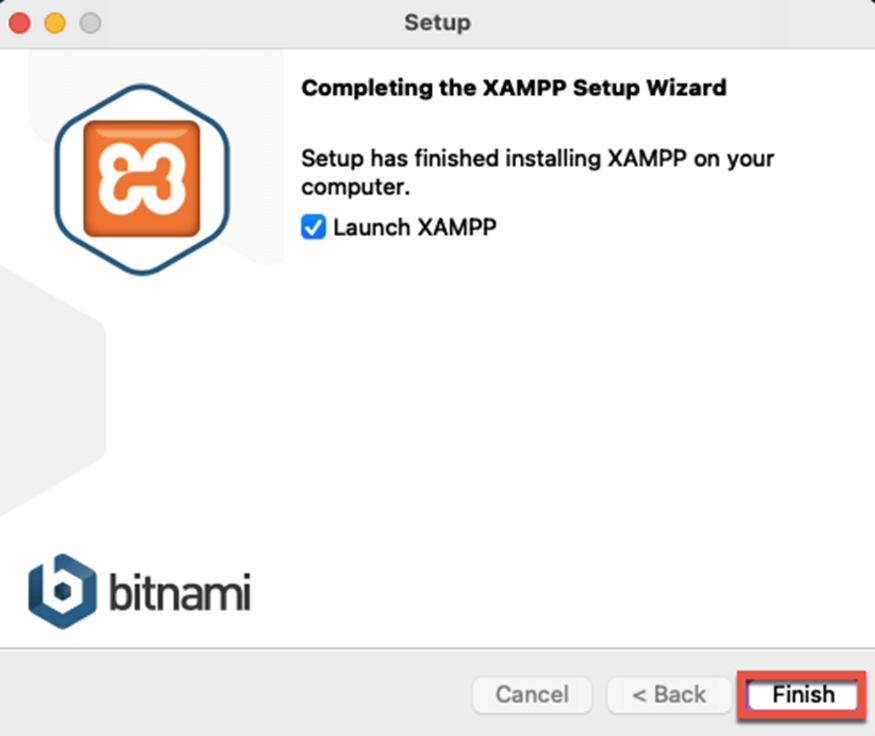
Step 12: Finally, click on the ‘Finish’ button once your installation is complete.
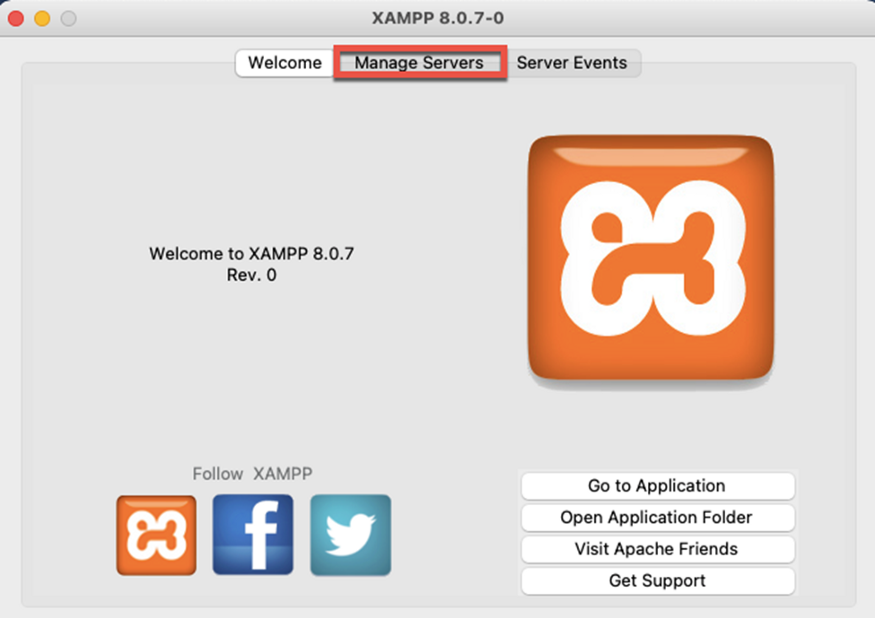
Note: XAMPP will open like this.

Step 13: Then click on ‘Manage Servers.’
Step 14: Then click MySQL Database and start the server by clicking the ‘Start’ button.

Step 15: Open Launchpad and search ‘terminal.’

Step 16: Open Terminal.

Step 17: After opening the terminal, navigate the path to Application. While opening the terminal, the terminal directory will be set to home. So, we need to go back two directories back by enter cd ../../ and to enter inside Applications directory enter cd Applications.

Step 18: Then enter ‘XAMPP/xamppfiles/bin/mysql -u root -h localhost’ to connect the MySQL database as a root user which is hosted at localhost.


